BoxWrap2d Tutorials
Back to tutorial index
Part One: Hello, Box2d World!
Wherein we discover how to create a mind numbingly boring simulation that really doesn't show off anything of interest. Yay!

Now that you're excited, let's get down to the details. Setting up a BoxWrap2d simulation is ridiculously easy.
First, to get the library installation taken care of:
- Download the library
- Unzip the .zip file, and drag the boxwrap2d directory into your Processing libraries directory
- Restart Processing and make sure that the Sketch->Import Library list now shows boxwrap2d
So first, we'll do our setup method, which should be pretty standard Processing fare:
Physics physics; // The physics handler: we'll see more of this later

void setup() {
  size(640,480);
  frameRate(60);
  initScene();
}
Before we do the initScene() method, where all the fun happens, we'll quickly get through the draw method:
void draw() {
  background(0);

  if (keyPressed) {
    //Reset everything
    physics.destroy();
    initScene();
  }

}
Trivial, right? All it does is reset the simulation if you press a key. If you don't even want to do that, you could just have the background(0) call and nothing else. The physics handler will take care of all drawing and stepping automatically.
So now for the guts:
void initScene() {
  physics = new Physics(this, width, height);
  physics.setDensity(1.0);
  physics.createRect(300,200,340,300);
}
To the extent that this is not self-explanatory, let's go through line by line:
physics = new Physics(this, width, height);This initializes the physics engine with some default values, and sets it up with the width and height of the current applet with a hard border. It also sets up the drawing and the simulation so that you don't have to do anything else. Later we'll see more options for this constructor.
physics.setDensity(1.0);This sets the physics object creator to make objects with a density of 1.0. This setting persists, so until setDensity is called again, all objects will have a density of 1.0. By default, the density is set at 0.0, which actually creates static (non-moving) objects. Try removing this line to see what I mean.
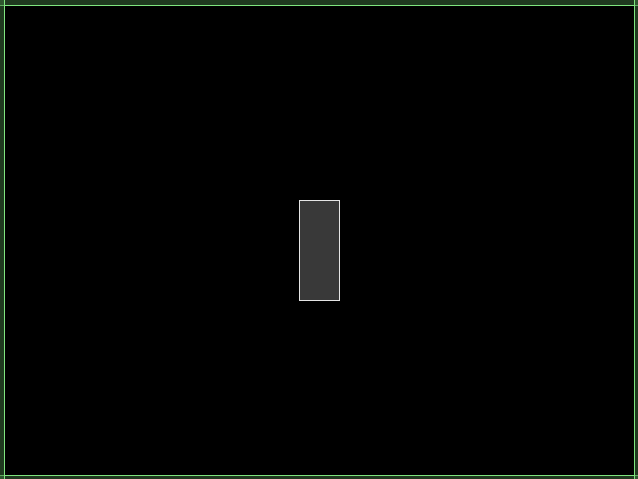
physics.createRect(300,200,340,300);And last, we create our only object, a single rectangle extending from (300,200) to (340,300), in screen coordinates. There is some scaling going on behind the scenes, as JBox2d (the underlying physics engine) deals in meters, not pixels, and a 40m x 100m object is HUGE. By default there is a 10:1 scaling between pixels and meters. Luckily, you should not usually have to worry about this, as most of BoxWrap2d's functions translate automatically between pixels and meters for you.
And we're done! Check out the results here, though prepare to be bored!
Back to tutorial index